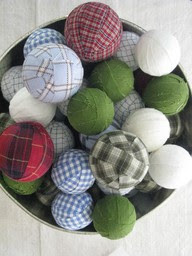
When the seasons changed my great grandmother promptly got her house ready. She had summer drapes and winter drapes. Summer bedding and winter bedding. Each room underwent a seasonal makeover of sorts. While I would love to swap my linen for velvet, pastels for burgundies and swap out my bone china for heartier, earthier tones I cannot do this. I have neither the funds nor the desire or inclination to do all this work! Your home can transition seamlessly from summer to fall by using a few simple items collected from the garden, backyard or orchard!
I'm a huge fan of bringing the outdoors in. I am a huge fan of decorating with nature and using items that can be recycled. I adore decorating with fruit. I love the bright and vibrant colors and I especially love the fact that, unlike freshly cut flowers, fruit can be eaten and enjoyed. When it starts to wilt it can get recycled into pancakes or muffins or breads or even as an oven-top potpourri. Fruit is inexpensive to decorate with and can be as aromatic as freshly cut flowers.
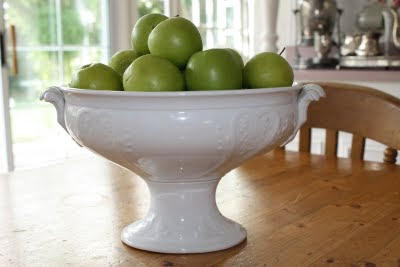
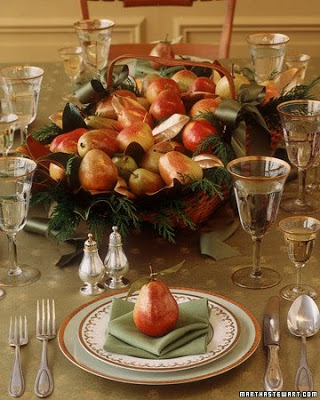
It is apple and pear picking season here in New England. Most of us pick much more than we can consume. Of course we can bake them, but why hide their beauty. The fall fruits have such wonderful colors -- warm reds, yellows and greens. These fruits should be displayed... and then enjoyed!
Some ideas ...
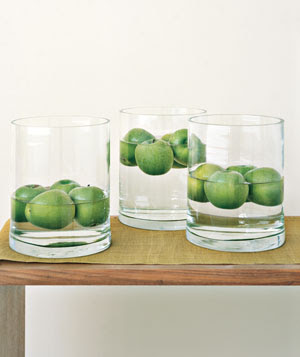
Nothing could be more simple than placing some apples in a bowl or arranging them on a large platter... or floating them in water. Don't limit them to your kitchen. Display your season fruit bouquets proudly in dining rooms as center pieces, living rooms, family rooms and bedrooms. Really, fresh fruit can be placed anywhere you would place a vase of fresh flowers.
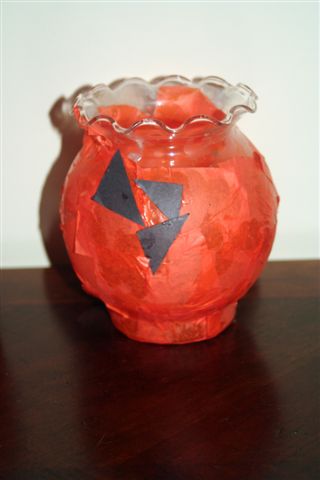
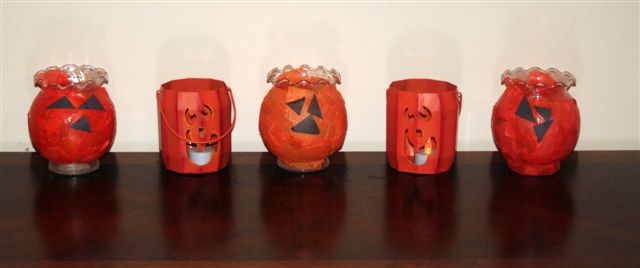
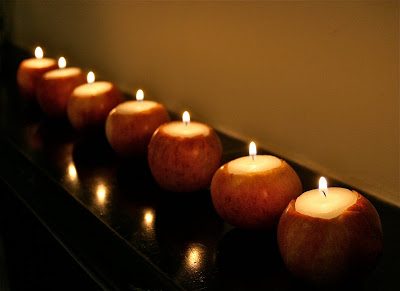
Nothing says cozy and warmth and romance and autumn like these apples that have been turned into luminaries. Again, place these in any room of the house. The same can be done with certain gourds and mini pumpkins. Place a couple in a bathroom when company is expected, or line your walkway with them to light up the path at night. Is your mantel to bare? Too boring? Place these apple luminaries on your mantel for a simple, elegant and festive look. Perhaps red does not go with your decor. Don't be afraid to use red, yellow or orangy apples.
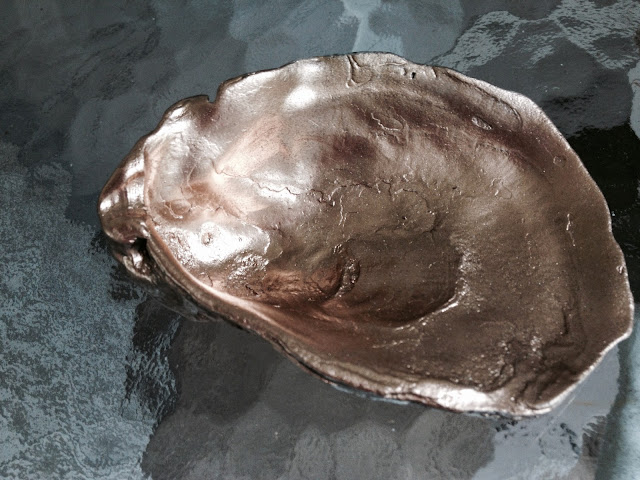
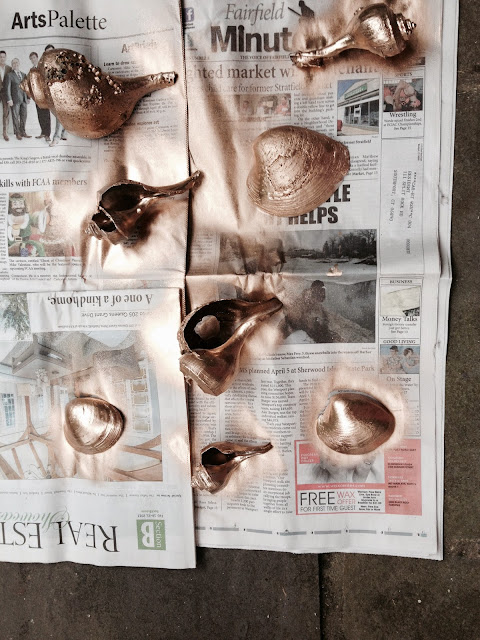
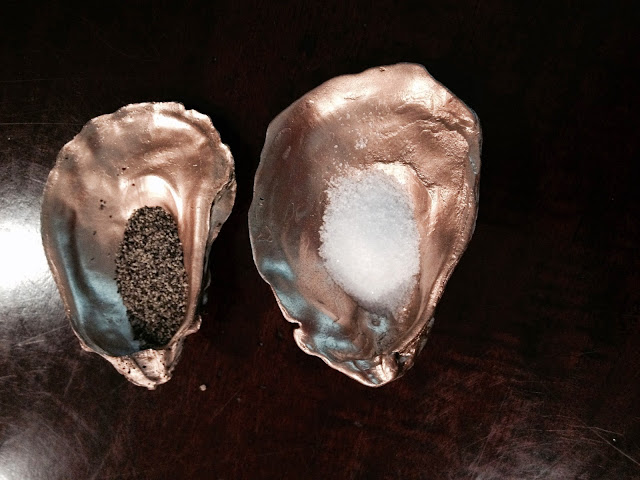
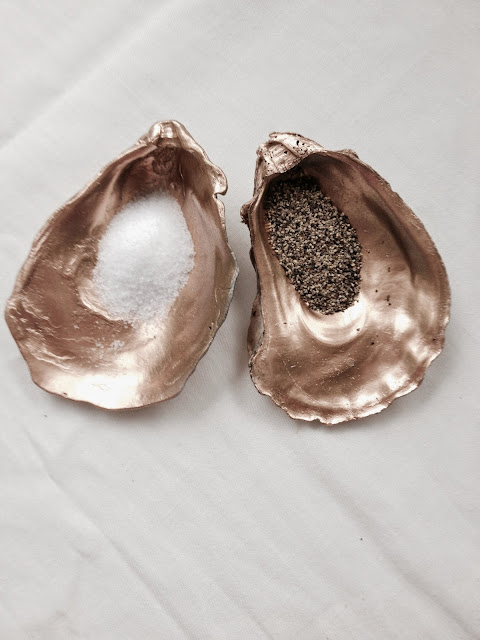
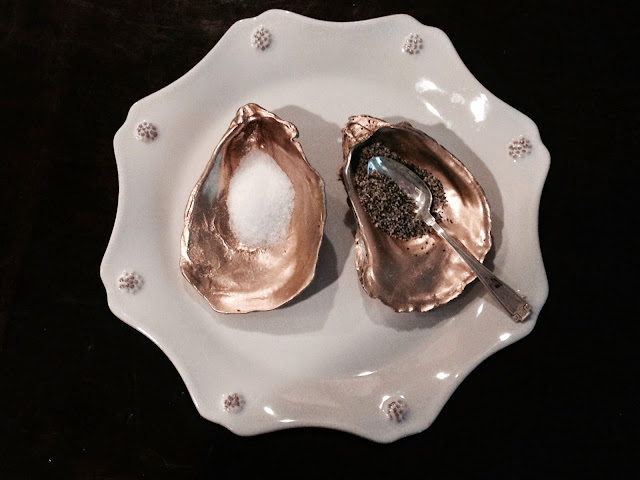
I have always adored these golden pears by Martha Stewart. Lightly brushed with gold powder, these ordinary pears receive a festive sheen perfect for any elegant holiday dinner party.
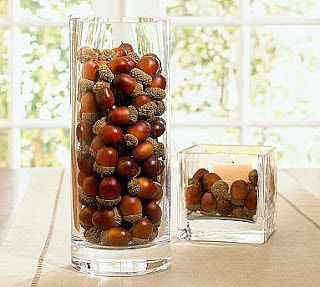
Look no further than your backyard for inspiration. A vase filled with acorns is so simple and yet so exquisite.
\
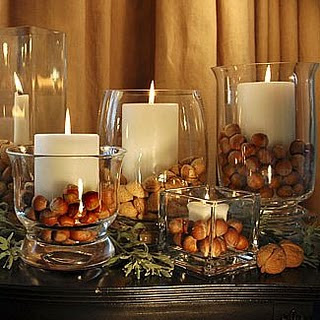
Add some acorns and nuts to a hurricane vase with a white pillar candle and you have something simple, stunning, autumnal, affordable and eco-friendly!
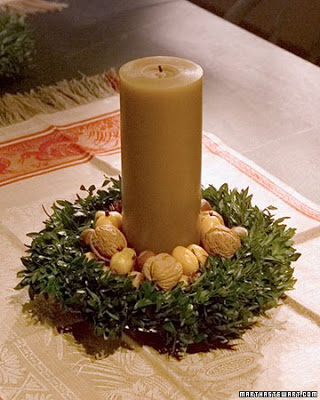
A simple boxwood wreath, a few nuts and a candle. Simple, elegant, festive and pure genius!
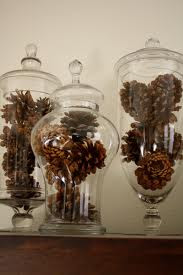
I simply adore pine cones. Though usually associated with Christmas and the colder months, simple brown pine cones, of all shapes and sizes look smashing in these apothecary jars... or arrange them casually in a nice off-white serving bowl.
String a few together and you have a festive garland that can last you throughout the holiday season. Simply change the color of the ribbon... start with an orange ribbon for fall and Thanksgiving and swap it out for a red or green one for Christmas.
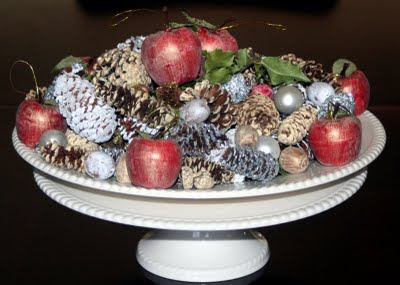
We love to paint our pine cones. Mix the pine cones on a large platter with acorns and apples, real or plastic for a smashing centerpiece. Some of the pine cones are silver, others are gold, and others are white. The acorns were give a once-over in gold paint as were the plastic apples. I tossed in a few extra ornaments that were lying around with nothing else to do for the final touch. No need to toss the items when the season is over. They will all store nicely in a box or plastic bag.
 |
| Image, courtesy Martha Stewart |
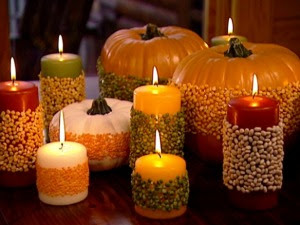
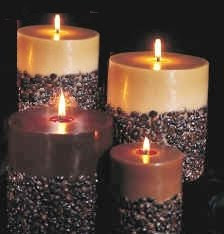
Perhaps you live in the South where pine cones and acorns are hard to come by. No worries, for this clever idea you have to look no further than your pantry for bags of dried beans and lentils to dress your pillar candles and pumpkins. For this you will need some wide double-stick adhesive tape and an assortment of mixed beans. Carefully roll the candles and pumpkins into the beans. You will need to fill in the holes by hand.
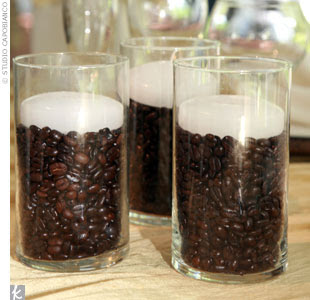
The same can be done with coffee beans, as seen below.
Coffee and candles make a lovely pairing as well!
If you like these ideas, be sure to visit my
post on Cranberries. One of my absolute favorite and versatile seasonal fruits ever!
Getting your home ready for the holidays need not cost much and can be done in such a manner than we can all reap the beauty from our backyards!


![[Twine jar[4].png]](http://media-cache0.pinterest.com/upload/26177241554457205_UzMbEula_f.jpg)


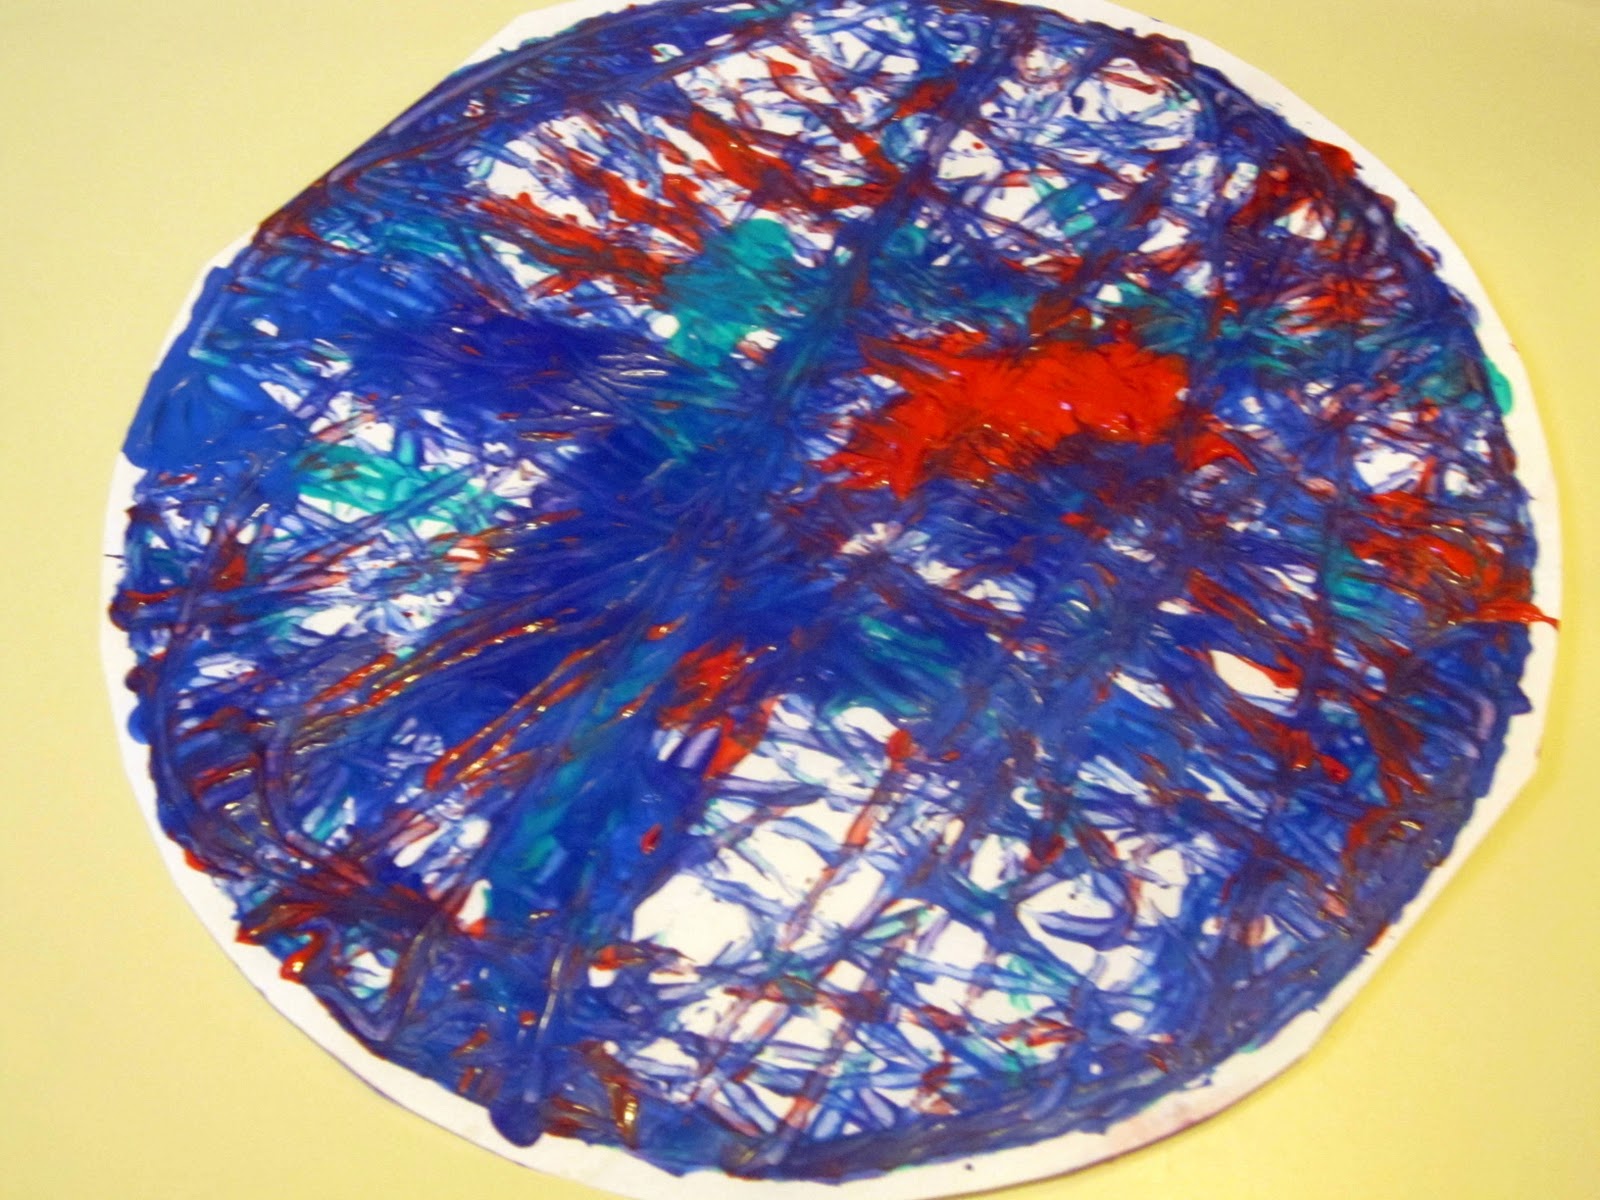


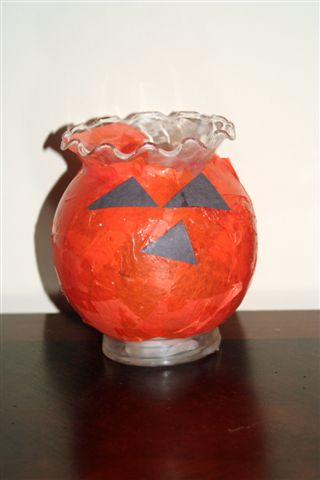
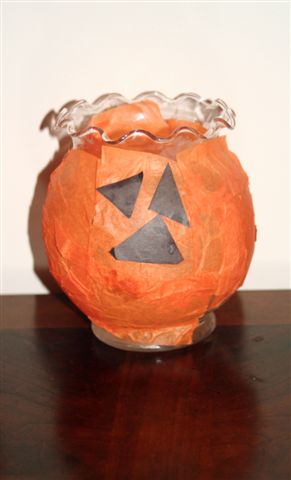
 Alexander's:
 Mine:
Mine: Whose do you like better?! ;)