Inside the Entertaining House at Christmastime :: Our Slow + Simple Home


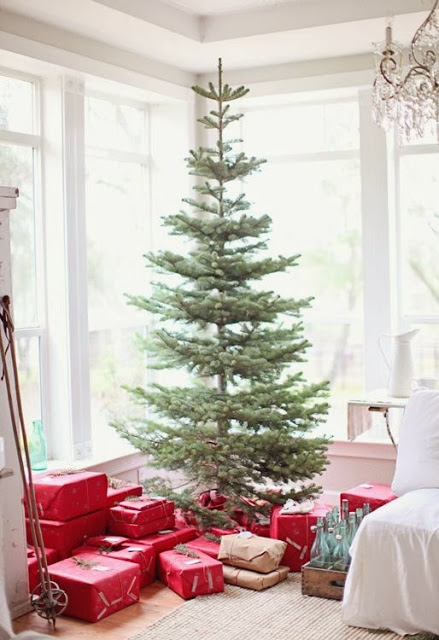
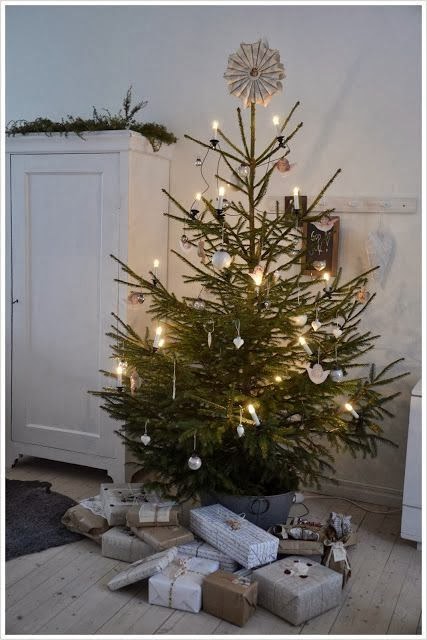
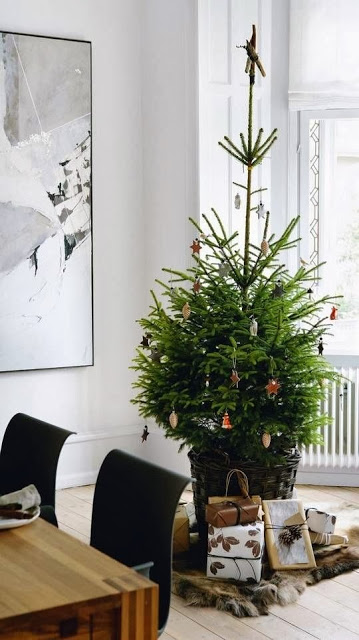
Our slow + simple Christmas began about 3 weeks ago as we went to find our perfect tree. I needed something not terribly tall, as I needed to be able to carry and set it up myself, along with the help of my 12 year old. Our new home is tiny and our living room, while quite roomy, seemed not to have the right spot for a tree, so last year we went without one for the first time ever, and our home seemed empty and sort of sad without one. So I was determined to get a tree into our home, somehow, this year. Above my older son Christopher held the tree while my daughter and I gave it the once over. That's that's my 12 year old next to a 6 ft tree. Yikes! (Alexander is my 8 year old tree hugger!)

This tree was the very first tree we looked at and it was perfect. It was absolutely perfect. Full, lush and magnificent. We stood in line while the tree got roped up and waited to be tossed onto our car. It was going to be a good Christmas... I just knew it was. We had the most perfectest tree! As I waited in the car line to get the tree placed on top, I posted a message onto my Facebook page which said simply, "Happiness is a Christmas tree on top your car!"


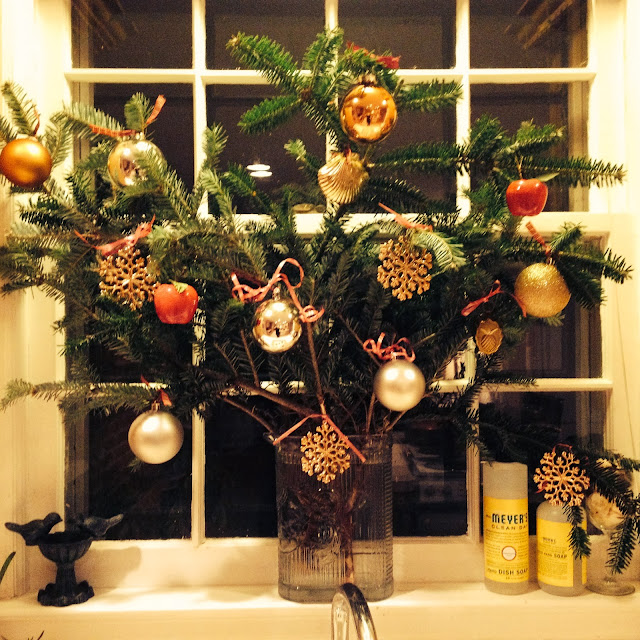
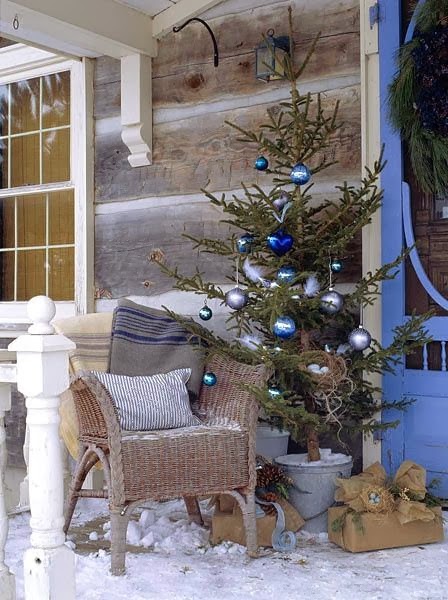
As we placed the tree into the stand we had to lop off a few branches. Actually my 12 year old, who now towers over me, was responsible for getting the tree up and standing. I was his aide. With the extra branch we had to lop off, I placed it into a large glass pitcher and found a home for it in front of my kitchen sink... I tossed on a few ornaments and suddenly I had something lovely and festive to look at while doing the dishes!


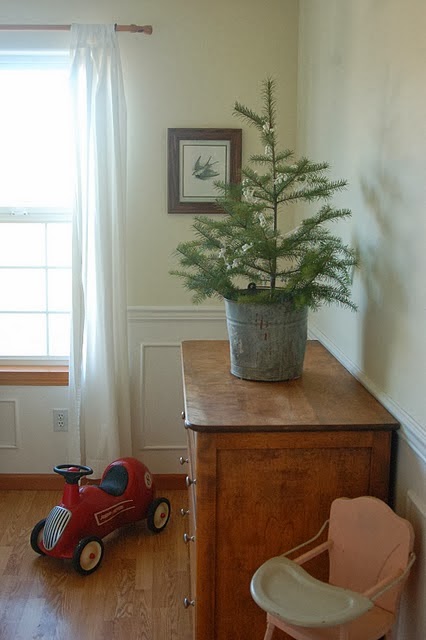
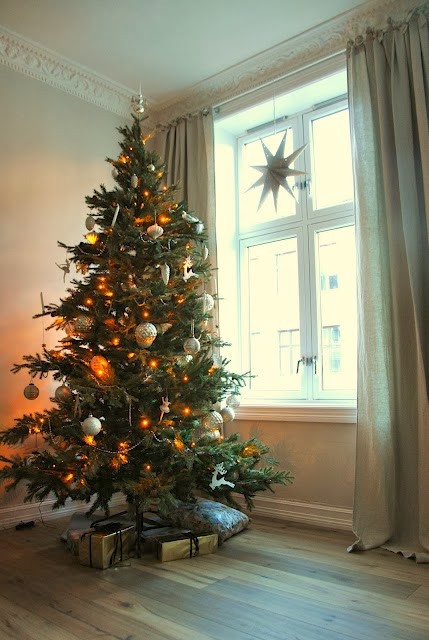
The tree found a home in the living with a magnificent view from the kitchen. There are two doorways from the living room into the kitchen I thought that blocking the one that hadn't much use would be OK temporarily. It turned out to be better than OK and now we can admire our little tree while we're eating or working at the kitchen table.


Someone's excited for Christmas! I crawled into bed late one night after calling it a day to find my youngest curled up and sound asleep in my bed! I hadn't the heart to move him!


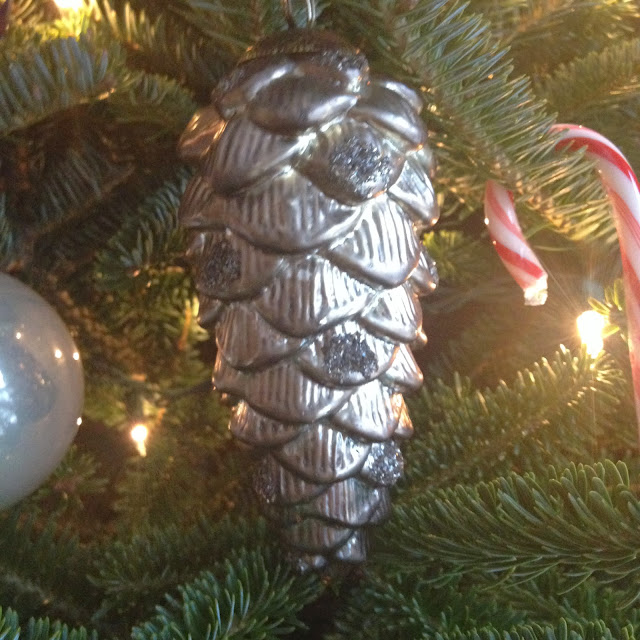
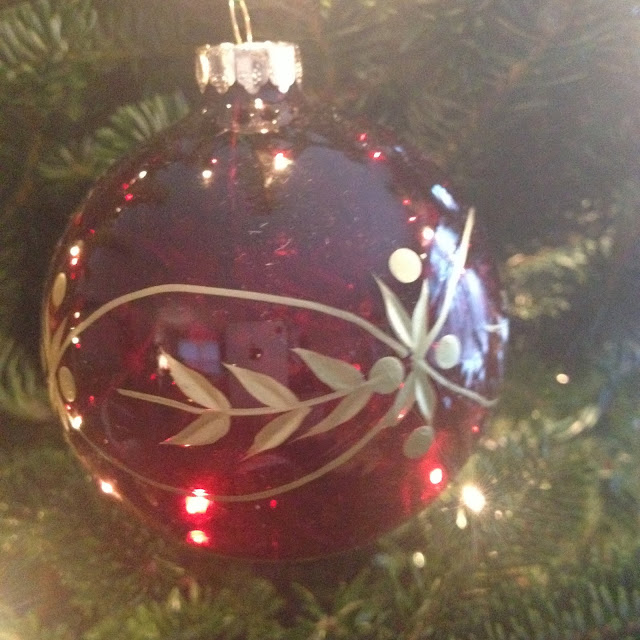
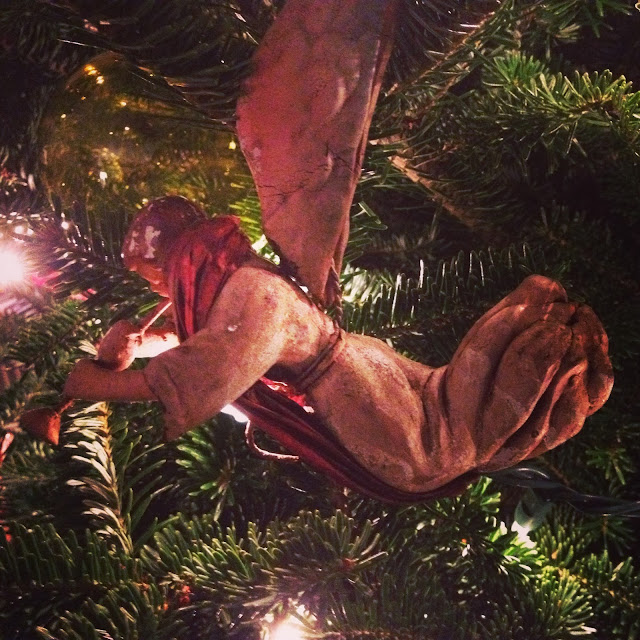
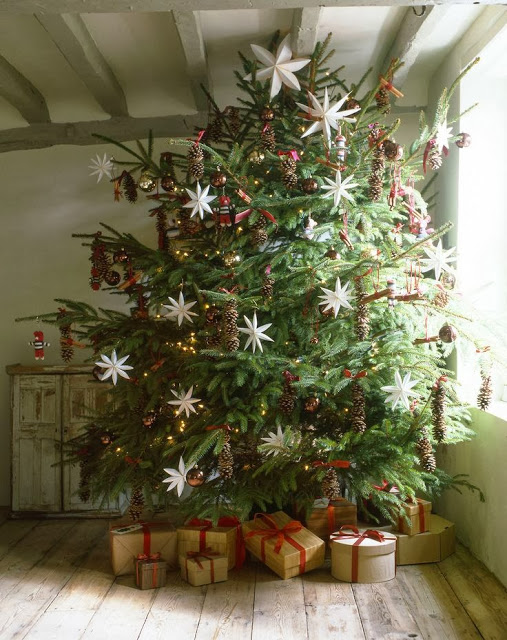
Our ornaments are a true representation of our family and our history... some are delicate, some are handmade and many, such as the Madeline are nostalgic, and tug at my emotions this time of the year. The photo of the ornament directly above was handmade by one of my children. We made a bunch one year and attached them to simple name tags as place markers at the Christmas table. They were so easy to make. We took inexpensive glass balls into which we squirted some tempera paints - no more than 3 colors at once, and we gently shook them around so that all the glass was covered from the inside. We tied pretty bows to each ornament that was placed on the table. Child's play for sure, but with the elegance of a more sophisticated hand. 


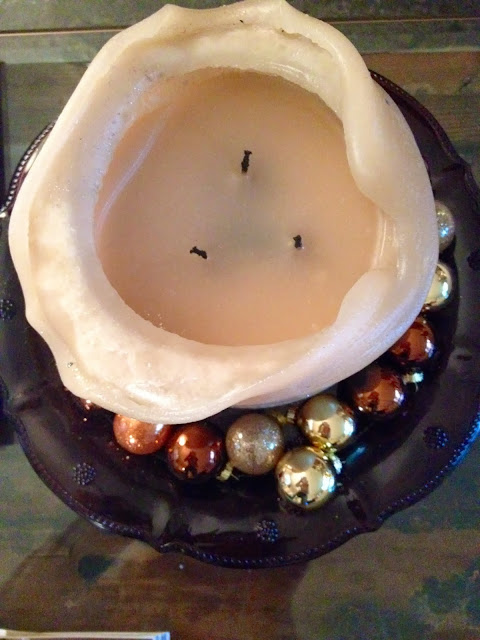
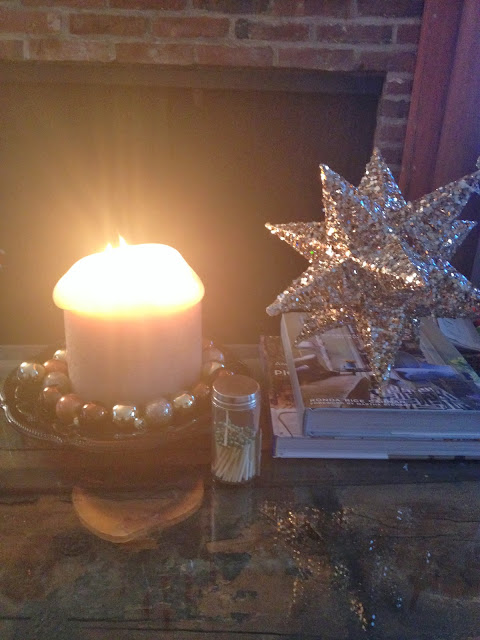
I love candles. I find them soothing, peaceful and relaxing. There are always candles burning in my home. My favorite thing to do when I wake up in the morning, after I make my coffee, is to settle into the couch with a blanket and with the warm glow of a candle, or a few candles, around me. It's such a peaceful way to ease into the day.


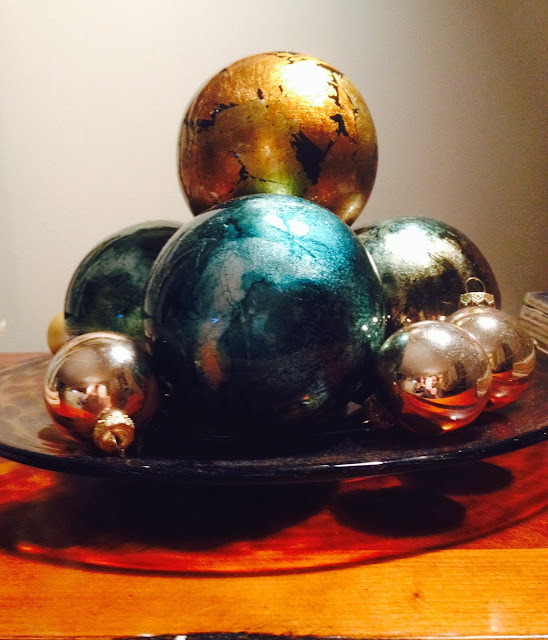
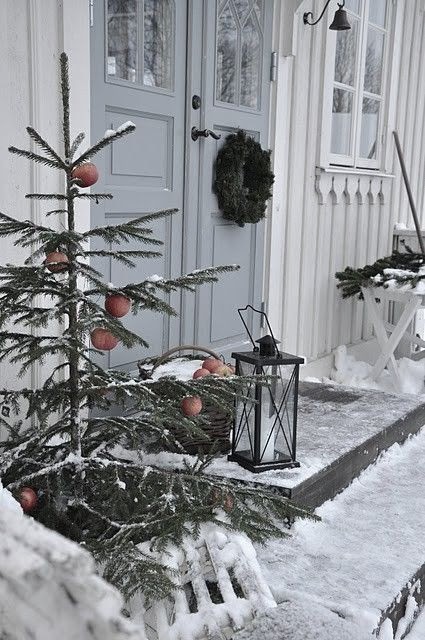
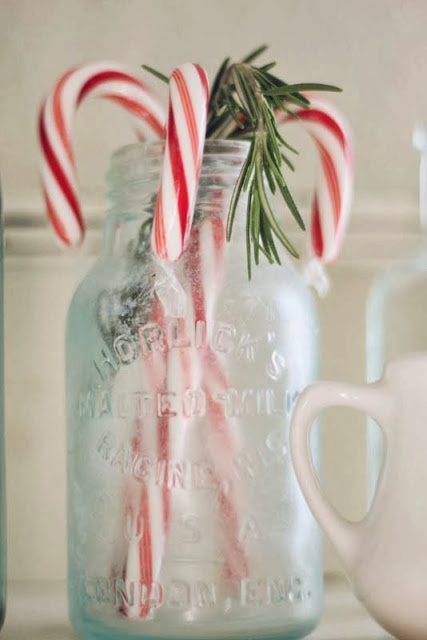
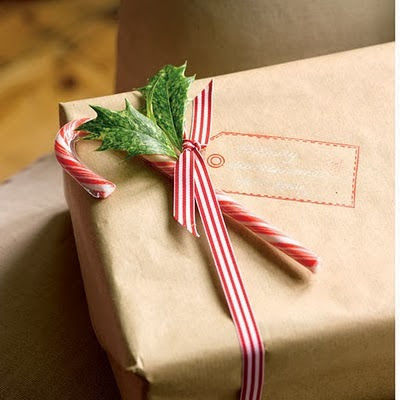
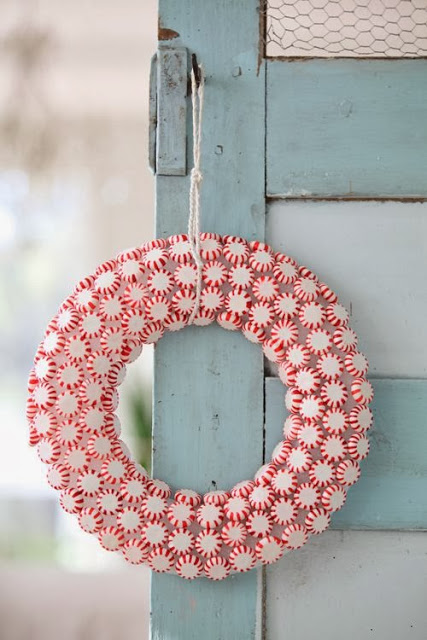
My Christmas isn't all red and green! 


New and vintage bottles become the perfect vehicle for my candles. The deer (which my kids thought were chocolate and were terribly disappointed to learn they weren't!) were just a few dollars apiece from AC Moore. They were this year's purchase. I fell madly in love them ... they seemed so gentle. I had to dress them in their red to add to the festivity. Funny - I'm just seeing now I forgot to remove my glass of wine for the photo... Oh well, I guess you're seeing the real me!


Our stockings are hung by the chimney with care...


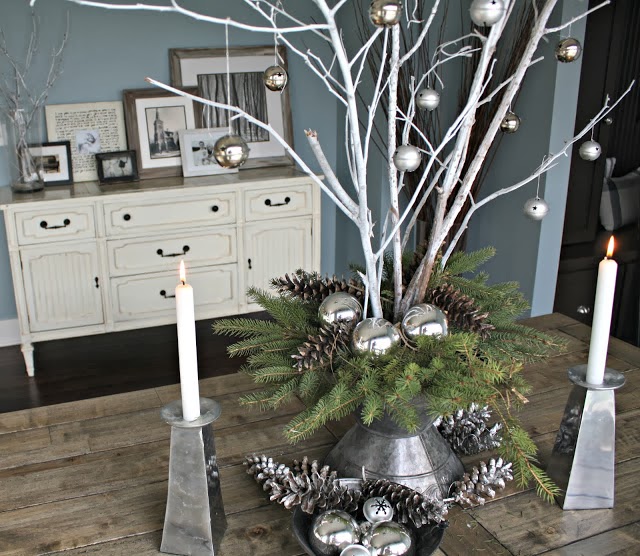
My gold and silver painted pine cones found a home on the mantel...

I'm off to start cooking and put the finishing touches on the things that need them!

Jessica

Stylish notes on silver for a slow and simple Christmas table

Silver Magpies 

I have asked dear friend and silver expert, Nancy Stuckwisch of Silver Magpies, to contribute a piece on silver for the holidays. Below she shares tips, insights, and ideas on how to use and care for your silver for a slow and simple table for Christmas and throughout the year.

***

Let your table shine this Christmas. Jessica's series on a slow, simple Christmas has really spoken to me, so when she asked if I'd be interested in guest posting on the Entertaining House about silver, I jumped at the opportunity. Thank you, Jessica! Today, let's focus on some thoughts about using your silver in your slow, simple Christmas. To those of you who don't know me from elsewhere, know that I'm all in favor of using your silver every day. Don't just save it for the best events, because all too often when best rolls around we just don't have the time or energy to dig the silver out of storage, then clean and polish it. Frankly, it's a lot of effort for a once a year event. However, if your silver is in the attic or safe deposit box rather than sitting in the cutlery drawer of your kitchen, don't despair! You can make a plan, include your silver in your celebrations, and best of all, then be able to enjoy your silver all year round.

What, where, and how?

First things first. The best way to start using your silver during your slow, simple Christmas is by making a list. What events will you need it for?
  • Only for a Christmas dinner for 6, 8, or 20?
  • Or for dinner, plus a cocktail party for 50, and another event in between?
What's on your menu or menus?
  • There is no point finding and polishing the soup spoons if you aren't serving soup.
  • Or in serving soup if you have no spoons to eat it with!
How are you going to serve?
  • At a formal table? If possible, set up ahead of time. At the very least, make sure you have all the bits and pieces accounted for silver, linens, plates, glasses, serving dishes and utensils.
  • Buffet style? Again, gather all the items you need - plates, glasses, silverware, napkins. As far in advance as possible, set-up the buffet area.
  • Sticky notes are your friend. Put a sticky note on every serving dish so you know what goes where...often this has saved me from leaving a dish in the oven or fridge!
Silver Magpies 

Wine coaster turned cookie bowl...no one will mind! Have some fun!
  • Feel free to mix and match.
  • Don't be constrained by the name of an item. This wine coaster doubles as a great cookie bowl.

Your plan is made, now for some action.

Once you've figured out exactly what you'll need, now is the time to take a look and what needs to be done with you silver to get it ready for use. If you use your silver on a regular basis, the likelihood is that very little polishing will need to occur. Remember, the more you use your silver the less you need to polish it. In the event it has been in storage for a long time, set aside an hour one night to polish away all the tarnish. It's a job that can be done well in advance. Use a good quality polish that you rub on and can rinse off. Goddards Silver Polish Foam is my favorite. Once the holidays are over, don't put your silver back in its box in the attic. Keep it out. Use and enjoy it every day.

silver magpies

After the holidays, keep your silver out. Use it and make every day best.

Nancy Stuckwisch has had a life-long fascination with silverware. Silver Magpies is where she sells, values, researches and blogs about vintage silver. She believes we should get the silver out of the cupboard, onto the table, and then into the dishwasher. Nancy blogs on her own website, and in addition writes for The Daily Basics, and is a featured columnist for Silver magazine.. Her shop features a large assortment of unique pieces.

Stylish notes on the perfect Slow and Simple Christmas Tree

via Style Estate

While I love to stare and marvel at the opulent, exaggerated, elegant and over the top Christmas tree, there's something sweet, lovely about a simple Christmas tree - beautiful in her own natural way. Graceful, elegant and peaceful. Often, in many settings, less is truly more. 

I couldn't have a tree without ornaments here; the children would never allow such to happen! Our tree, little, but lovely and lush this year, tells a story. We have ornaments of the past - that the children made when they were young and they coexist beautiful with the red and white candy canes my daughter insists we hang every year, that coexist beautifully with the fragile glass, and crystal ornaments. Our tree is not overly filled - she has just enough. She tells a story, the story of us. We have lights on our tree. I love nothing more than, in the morning before the sun is up, to come in to the living room, turn on the tree and admire her beauty while I slowly ease into my day with a soy candle burning and my cup of cappuccino. 

I do love these simple trees below, the children have been asking for little trees to be placed in their rooms....


via Blissfully Content

via Home Depot

via Me and Alice

via Pinterest

via Tumblr

via Tumblr

via Vintage Chic

via Pinterest

via Zsa Zsa Bellagio

via Traditional Home
I promise to get some photos of our own slow and simple Christmas decor up to share with you very soon!

Jessica

Silver Bells :: Slow, Simple, Magical

via Etsy

Silver bells
Melodious
Beautiful
Simple
Festive
Ringing
sweetly,
gently.
Harmonious

When we think of silver bells we think of the sounds and the songs of the season, horse-drawn carriages, and one particular song that evokes the very essence of the Christmas season.


City sidewalks busy sidewalks .
Dressed in holiday style
In the air
There's a feeling
of Christmas
Children laughing
People passing
Meeting smile after smile
And on every street corner you'll hear

Silver bells silver bells
It's Christmas time in the city
Ring a ling, hear them ring
Soon it will be Christmas day

Strings of street lights
Even stop lights
Blink a bright red and green
As the shoppers rush
home with their treasures

Hear the snow crunch
See the kids bunch
This is Santa's big scene
And above all this bustle
You'll hear
Silver bells, silver bells
It's Christmas time in the city
Ring-a-ling, hear them ring
Soon it will be Christmas day

As with the evergreen, the candy cane, the silver bell is a simple way to add a touch of sparkle and song to your holiday decor... whether to your home, tree, holiday table, or gift wrap, the silver bell adds beauty and the magic to your home in the most simple yet spectacular of ways!


via Lily Pad Cottage

via Lily Pad Cottage

via Nordic House

via Pinterest

via The Idea Room

via Williams Sonoma

Jessica

Candy canes and peppermints :: The season's perfect slow and simple accoutrement

via Pinterest

via Pinterest

The candy cane and the peppermint stick are quintessentially Christmas. Whether in stick form, cane form or round ball, these red and white sweets with their peppermint flavors have become synonymous with the holidays. Their flavors, simple yet magnificent. Their beauty, simple, understated, classic and celebrated. The iconic red and white colors add instant holiday cheer and spirit wherever they are present. Candy canes add a simple yet wonderful touch to your Christmas decor. Place a few in a glass jar, copper pitcher, silver cup to dress up your home in the simplest of ways. Place peppermints alongside white pillar candles, on pretty plates, decorative trays or silver platters. Add some to a bowl of clementines, pears or apples. Hang them from a tree - it doesn't have to be a Christmas tree. Attach a peppermint stick to an envelope or package, tied with white strings. Place it on top of a napkin with a small branch of pine or sprig of rosemary, for a simple, yet festive place setting. Place a candy cane into a warm mug of hot cocoa... or, do what we love to do here at The Entertaining House, smash them up and bake with them!

We like to crumble them and add them into cookie batter, brownie batter, cake batter and frosting. Melt some chocolate and take a simple butter or sugar cookie, roll it into the chocolate and then dip them into the peppermint pieces. In a rush? In a pinch? You can do this with simple store bought cookies too... But shhh, don't tell anyone, let 'em think you've slaved over them! Roll brownie bites and chocolate truffles in them... Dip marshmallows into chocolate and cover them in the pretty pink shimmery pieces... But our favorite, homemade chocolate bark. So delicious, so simple and a perfect holiday gift for family, hostess or teacher!


via Dreamy Whites

via Bakers Royale

via A Spoonful of Sugar

via Pinterest

via The Entertaining House

via The Entertaining House

via The Entertaining House

via The Entertaining House

via The Entertaining House

via The Entertaining House


How to make Christmas Bark.


We actually made two different kinds of bark, Peppermint Bark and Peppermint Joe-Joe Bark. Joe-Joes are Trader Joe's version of the Oreo. And if you've never had the peppermint version you are really missing up on something special! The kids made this the other night and they had so much fun and found it to be so easy that they've decided that this is what they will be making for their teacher gifts this year.

Peppermint Bark


Ingredients:
1 package good quality white chocolate chips. We prefer Trader Joe's or Ghirardelli over Nestle.
1 package good quality semi sweet chocolate chips.
1/8 - 1/4 cup crushed candy cane pieces (depending on how you like it)

Make a double boiler by placing a metal mixing bowl over a pan of boiling water. Once the water has started to boil, turn the heat down to the lowest setting possible. Slowly melt the chocolate and begin folding (gently mixing) the chips into one another as they start to melt. Once the chocolate chips have been fully melted pour them onto a baking sheet that has been lined with parchment paper. Place the baking sheet into the fridge or freezer to cool. While the chocolate is setting, wash the bowl out well and dry well. Make sure no water is left in in the bowl as white chocolate is harder to melt and faster to burn. Even a drop of water will prevent the chocolate from melting. When the bowl is absolutely dry replace it on top of the pan. Add the white chocolate and slowly, let it melt, folding it into itself as it does. Remove the pan from the fridge or freezer and pour the tempered white chocolate onto the cool semi sweet chocolate. While the white chocolate is still warm, add the peppermint pieces by gently and evenly sprinkling them to the top of the bark. As the chocolate hardens and sets the peppermint will adhere to the mixture. Return to fridge or freezer until both the dark and the white chocolate are solid. Bring it back to room temperature and then break into pieces... try not to pick at too much while you're at it!

Save the little bits that fall off and place them in a jar. You can reuse them in baking or sprinkle them on top of vanilla ice cream!


Peppermint Joe-Joe (or Oreo) Bark

Ingredients:
2/3 of a box of Joe-Joes
1 package good quality white chocolate
1 package good quality milk chocolate
1 package good quality semi-sweet chocolate

Directions. Follow same steps as above, only you will have the additional layer of the third type of chocolate. The cookie bits can either be added in between layers or to the top layer. Whichever layer you add them to, be sure to add them to the chocolate while it is still soft. When the bark is made, cool to firm then bring to room temperature and break into pieces! Add the bits that have fallen off to the jar with the peppermint bits!

Jessica