There is a most wonderful place for children of all ages in
Stratford, Connecticut. If you happen to be on the I-95 corridor and passing through New England you must stop here. This was my third field experience to The Garbage Museum, part of the
PreK-3 curriculum at my children's school. Our clever teacher loops this trip in with a lengthy lesson on the importance on recycling and
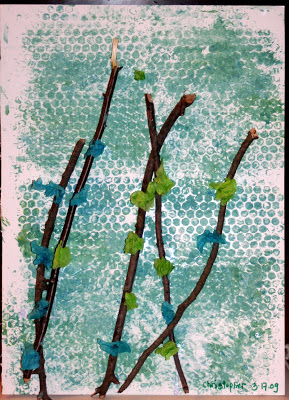
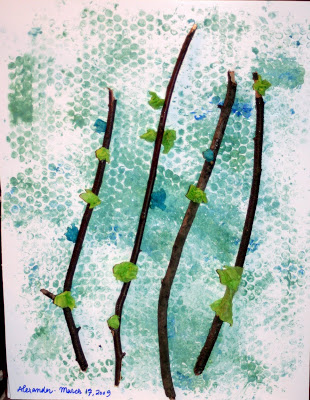
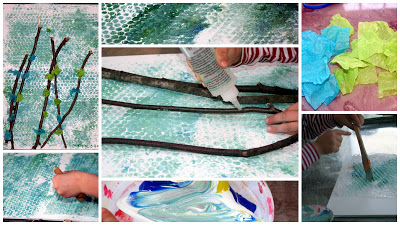
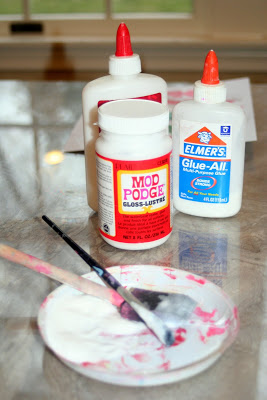
precedes the study of Andy Warhol who made art from recycled items. (Think Campbell's soup cans!) Our school does what it can to help make the world a little "Greener" using fluorescent lights, buying organic, locally grown produce, meat and dairy and teaching all it's students the importance of recycling.
The Garbage Museum is a great, hands-on way to learn the importance of recycling. Adjacent to the building is a recycling center. Part of the museum is comprised of a large, windowed corridor over the actual recycling center. Twenty towns utilize this recycling center. Plastics, glass, paper, and tin are brought to this location. Oh what fun it is to watch the recyclables being sorted accordingly. The items that are unable to be recycled are sent off to the local waste station where the trash is turned into
energy. The children watched eagerly as the plastics went down a
large shute on one side of the glass hallway, to rise up on a long conveyor belt on the other side where it was brought to workers who sorted, by hand, the items to be recycled. After the workers sort though everything, the plastics then get crushed by a giant machine and packaged up where eventually it will be transported to North Carolina and recycled into carpeting, or sweaters or backyard swing sets! The paper goods will get recycled into other paper goods. As you will see in the slide show, (below) every once in a while, items made their way into recycling bins that had no right to be in those bins!
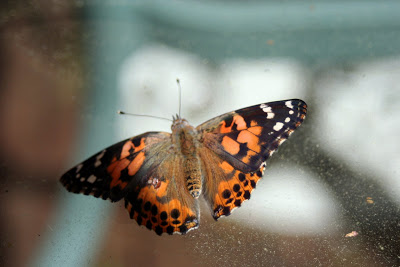
At the museum the children saw the museum's 2000 pound Trash-O-
Saurus, created entirely by recycled items that people had tossed into the garbage. It's quite the creation and fun to look at.
The museum is very interactive. In addition the Trash-O-
Saurus the children learned about composting, saw art made from recycled items and learned that the earth will really be a happier place if everyone recycled. Sadly, the museum is in danger of being
shut down due to lack of funding. I do hope that someone steps in and helps. For the most part I am not a fan of
Obama's stimulus packages. But, if he could find it in his heart to keep small, special places as this alive, much as he is pumping money into the
NEA, I would be happy. And so would a lot of little children. Including Alexander and his friends.
There are other similar museums across the country. You should check your local towns to see if such an activity is available to you!
The children learned that everything should be reused, reduced and recycled. Instead of throwing away items that are no longer needed, give them to someone else. Instead of throwing away your water bottle recycle it. Or reuse it. Come up with a creative use for it.
Alexander fell asleep on his way home from the museum. It's unusual for him to nap these days, but he had fun and he was exhausted. When he woke up he demanded that we reuse his orange juice bottle!
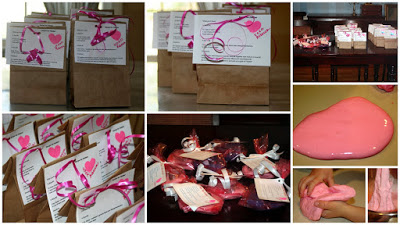
Together we made an
I Spy Bottle. And he loves it and he is so excited to bring it in to school to show his teacher what we made with his recycled bottle!
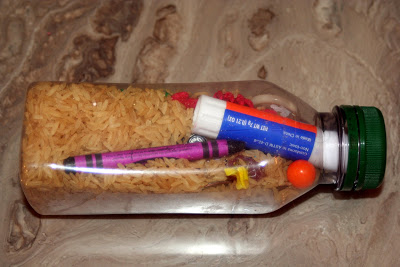
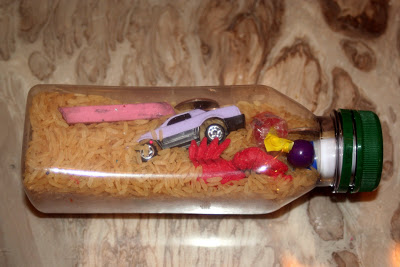
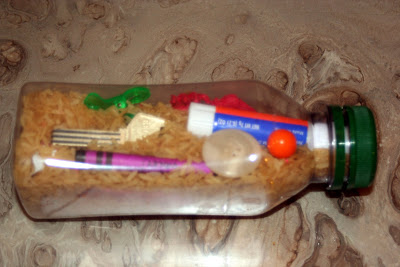
You too can do this. It's simple and takes a matter of minutes. I do suggest using a bottle (or jar) with a wider mouth. (Soda or water bottles won't work so well.)
Together we found, and used the following items:
a small car
2 gum balls
1 piece of hard candy
1 crayon
1 glue stick
some odd change
a red plastic lobster
a pink eraser
a key
a few multi-colored nonpareils
a
buttona green plastic clip
We placed all the items in the bottle and then we filled the bottle with uncooked rice, leaving enough room so that the rice would move enough so that we could find the items inside the bottle.
This is a great craft project to tie along with a little lesson in recycling!


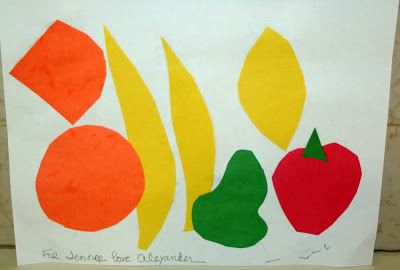
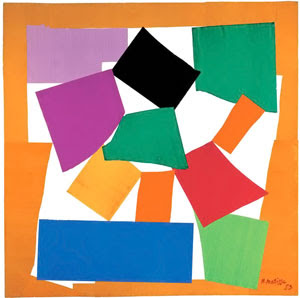
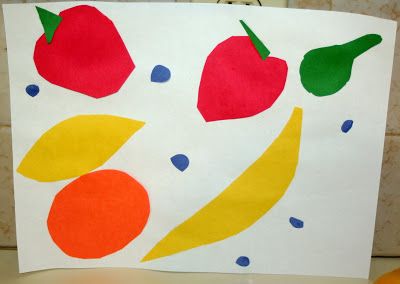 The Fruit Bowls reminded me of

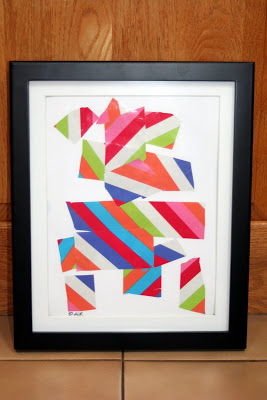
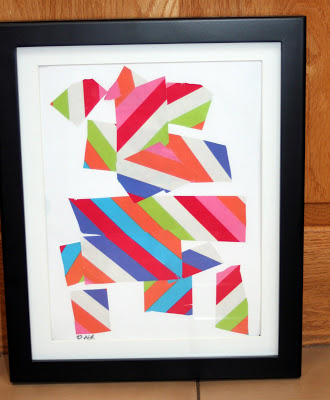
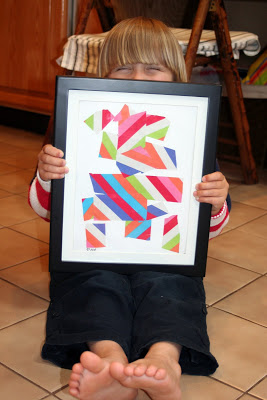

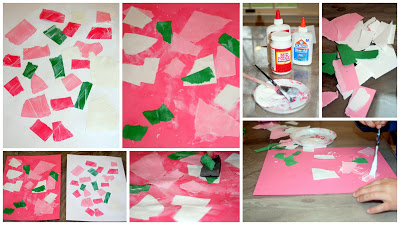
 Alexander's:
 Mine:
Mine: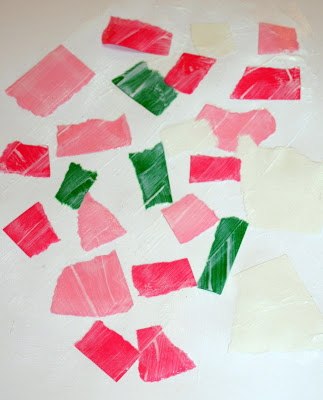 Whose do you like better?! ;)