This was totally Martha Stewart's idea. And I stole it. She used peaches. She called it Sherbet. I used strawberries. We think it tastes more like ice cream than Sherbet. No matter what you call it, it's a fun quick, and easy frozen treat. We loved this for it's simplicity and ease. We loved it because you don't need a fancy ice cream maker. We liked it because it was relatively quick and well, we're an impatient lot. We like instant gratification. And come on, admit it, you do too!
Ingredients
4 cups strawberries, frozen, stems removed
1 can sweetened condensed milk
That's it. Crazy, right? We know!
Directions:
Freeze 4 cups of strawberries and place in a Ziplock bag in your freezer. Lay flat so they don't freeze together. Freeze for about 2 hours or overnight. We always have frozen strawberries on hand for smoothies, and baking.
In a blender pour in the condensed milk and then add the strawberries. Bend until smooth. When smooth pour mixture into a metal loaf pan. Place in freezer for about an hour.
After remove and serve!
Note, this is delicious but very sweet. You may want to cut down on the sweetness by adding a little bit of while milk to the mixture, say, about 1/3 of a cup. Test to taste. Kids might like it sweeter than the adults.
If you go strawberry (or any berry or fresh fruit) picking, this is a great way to use up a ton of berries. Fresh berries tend to go soft and start to turn fairly quickly. This is a great and fun summertime activity to do with kids of all ages.
If you go strawberry (or any berry or fresh fruit) picking, this is a great way to use up a ton of berries. Fresh berries tend to go soft and start to turn fairly quickly. This is a great and fun summertime activity to do with kids of all ages.
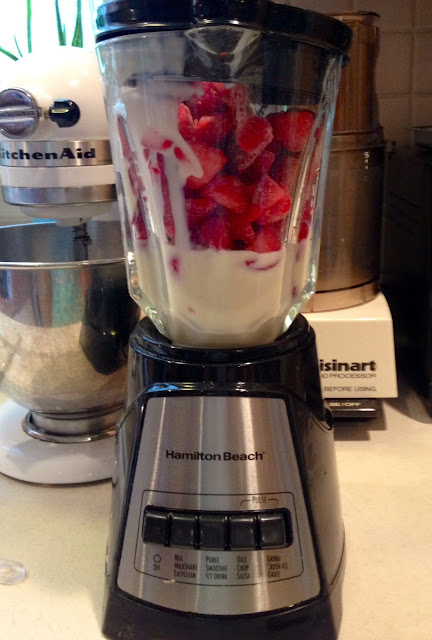
In the blender, always add the liquid to the blender first!
Otherwise the frozen berries will merge and freeze together and blending will be tough!
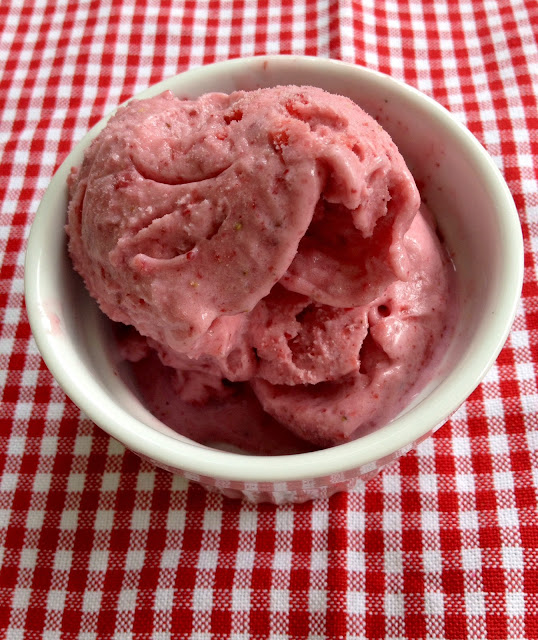
Pretty in pink!
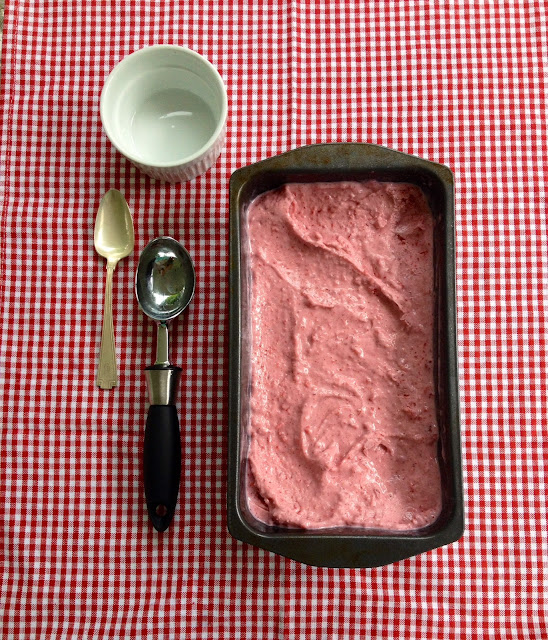
Ready to scoop...

Ready to eat!
For a perfectly red, white and blue treat add a scoop of vanilla ice cream and top with fresh blueberry!


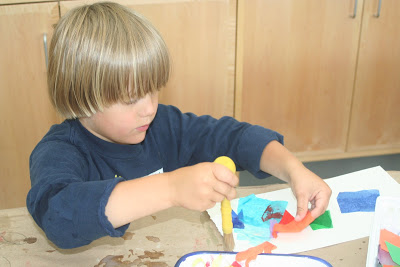
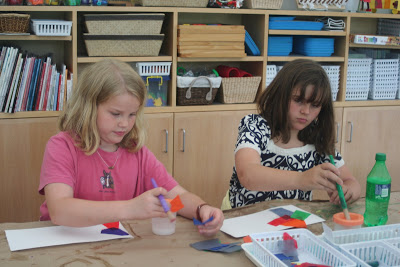
 collages of felt...