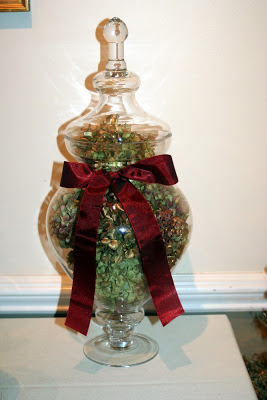
 |
| via Pinterest |
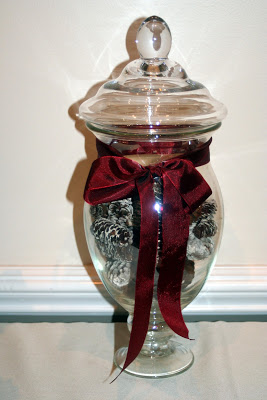
 |
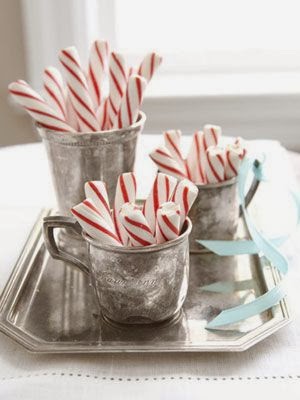
| via Pinterest |
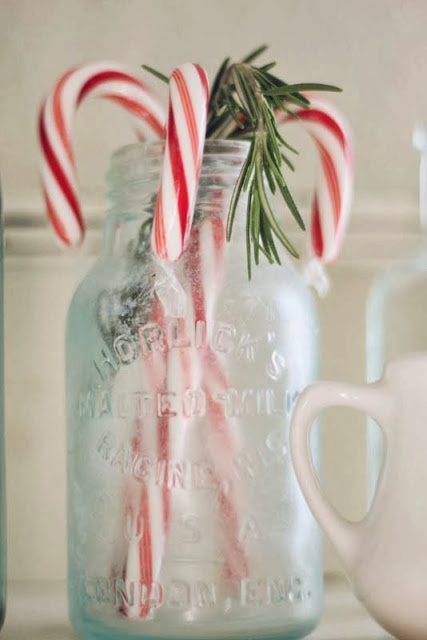
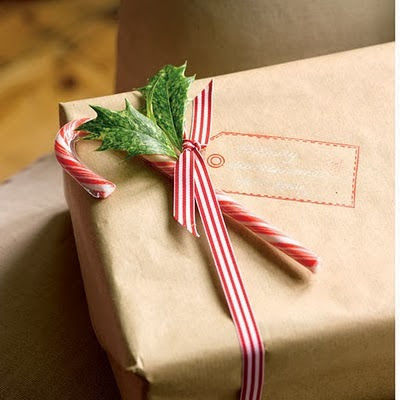
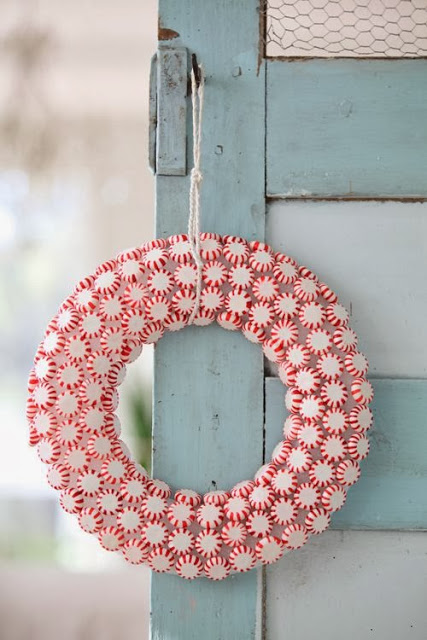
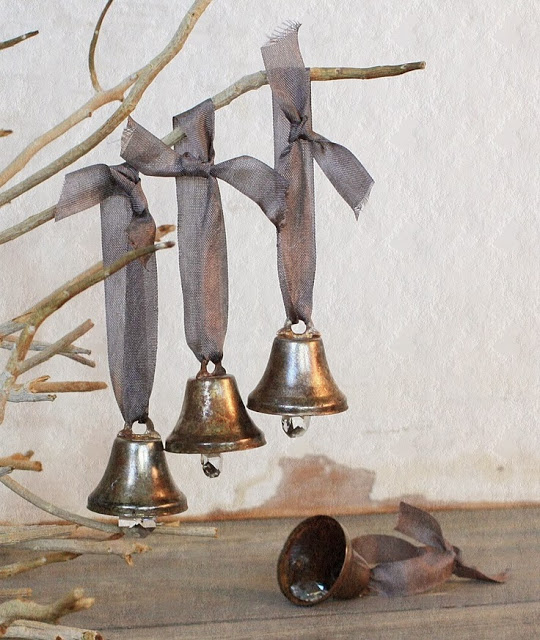
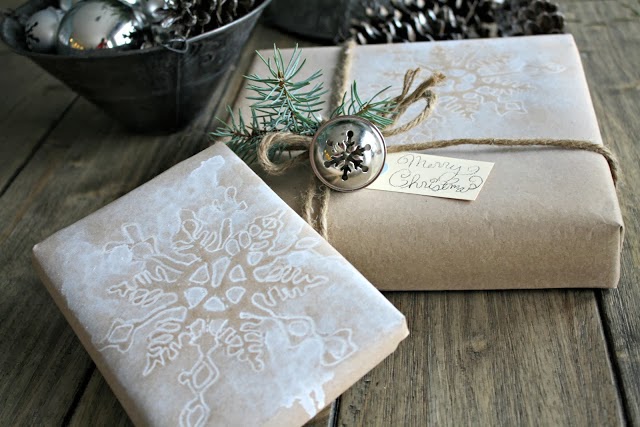
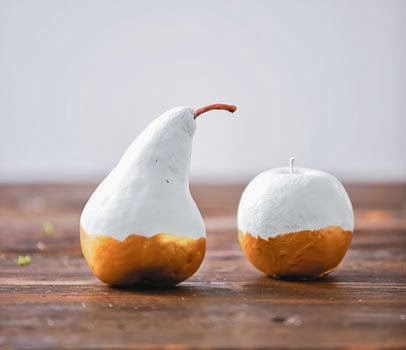
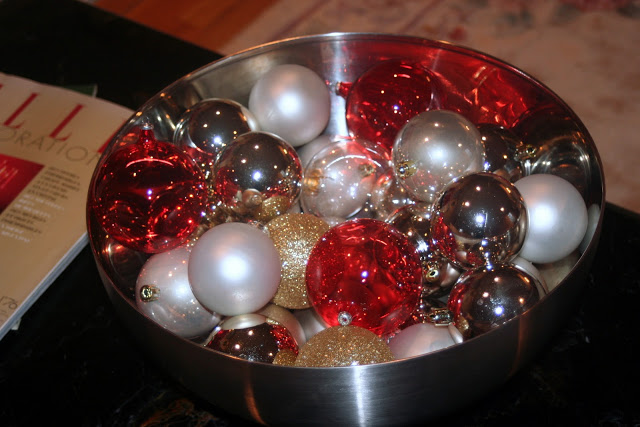
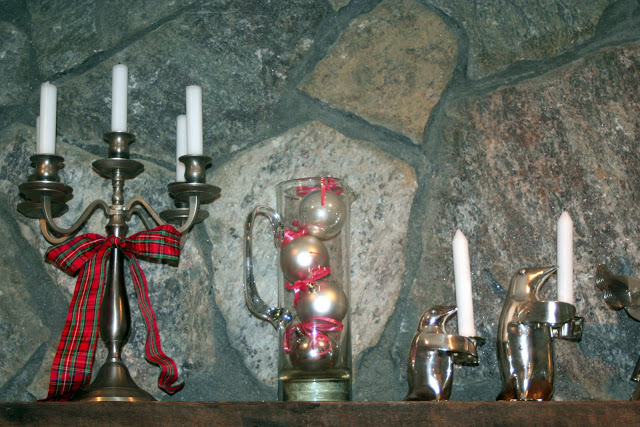
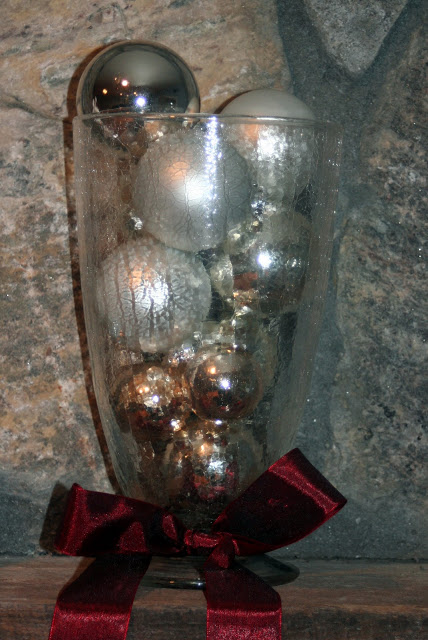
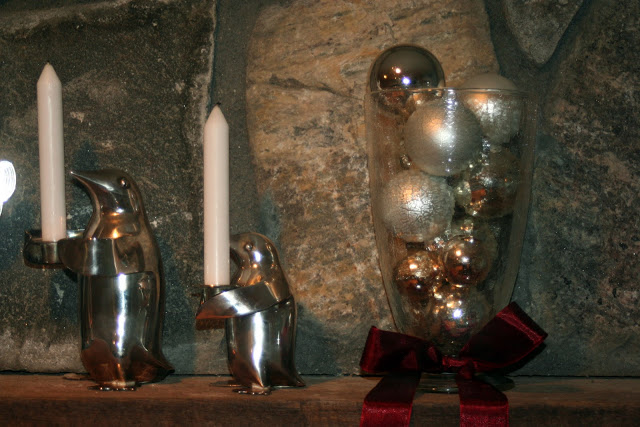
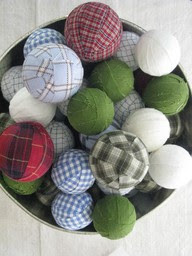
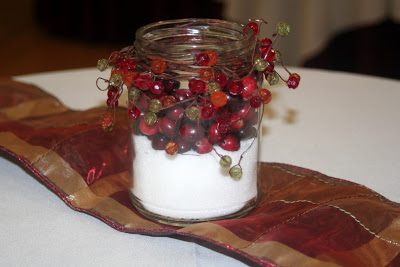
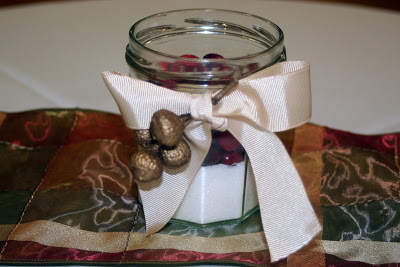
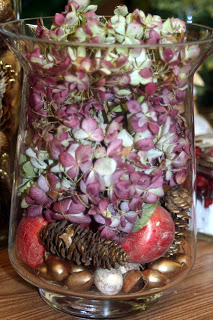
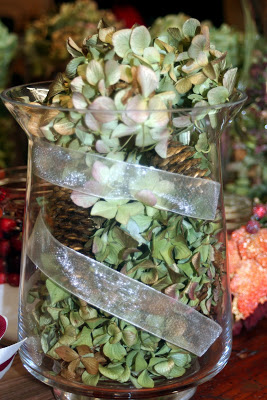
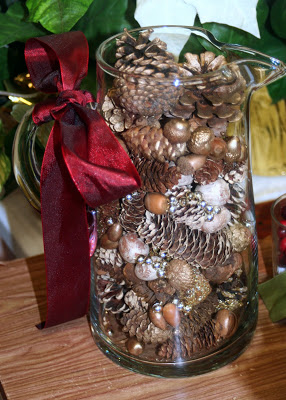
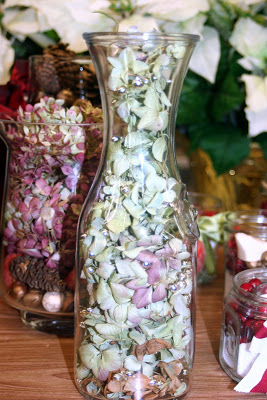
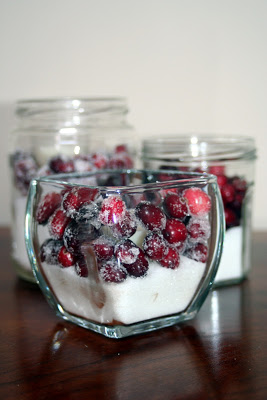
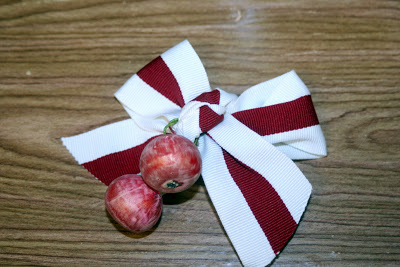
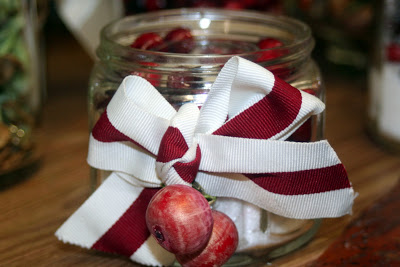
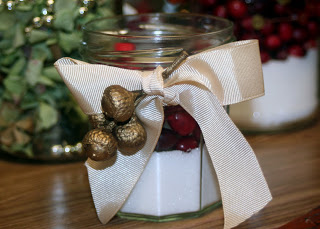
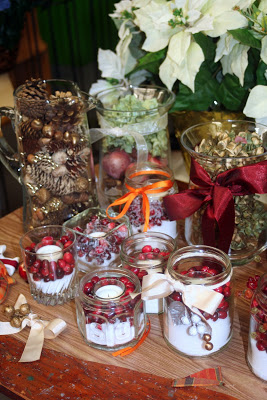
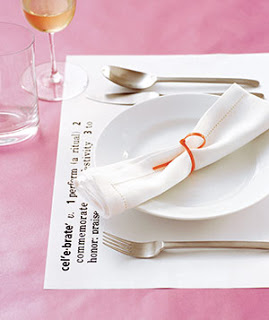
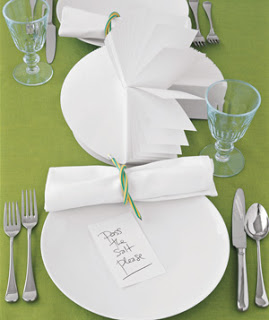
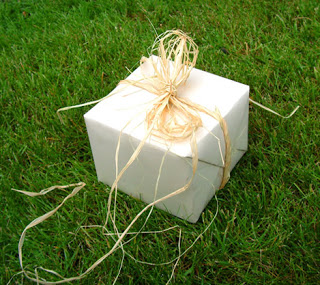
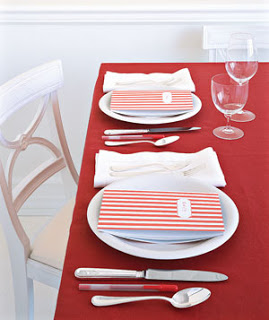
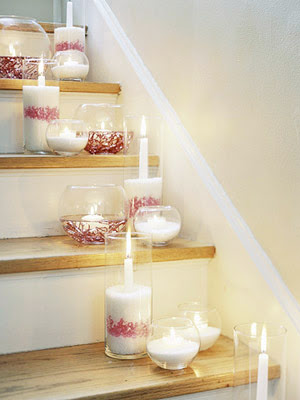
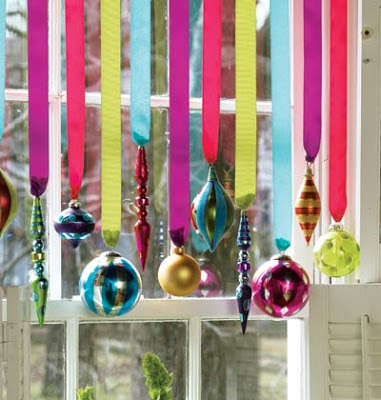
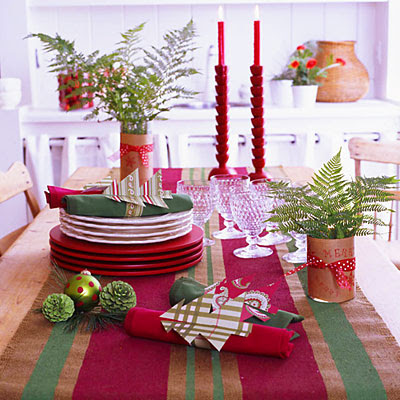
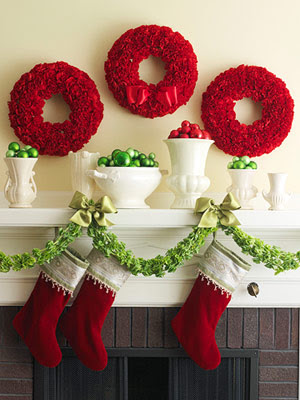
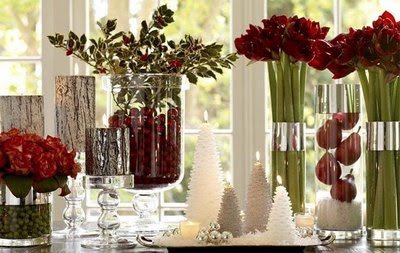
The candy cane and the peppermint stick are quintessentially Christmas. Whether in stick form, cane form or round ball, these red and white sweets with their peppermint flavors have become synonymous with the holidays. Their flavors, simple yet magnificent. Their beauty, simple, understated, classic and celebrated. The iconic red and white colors add instant holiday cheer and spirit wherever they are present. Candy canes add a simple yet wonderful touch to your Christmas decor. Place a few in a glass jar, copper pitcher, silver cup to dress up your home in the simplest of ways. Place peppermints alongside white pillar candles, on pretty plates, decorative trays or silver platters. Add some to a bowl of clementines, pears or apples. Hang them from a tree - it doesn't have to be a Christmas tree. Attach a peppermint stick to an envelope or package, tied with white strings. Place it on top of a napkin with a small branch of pine or sprig of rosemary, for a simple, yet festive place setting. Place a candy cane into a warm mug of hot cocoa... or, do what we love to do here at The Entertaining House, smash them up and bake with them!
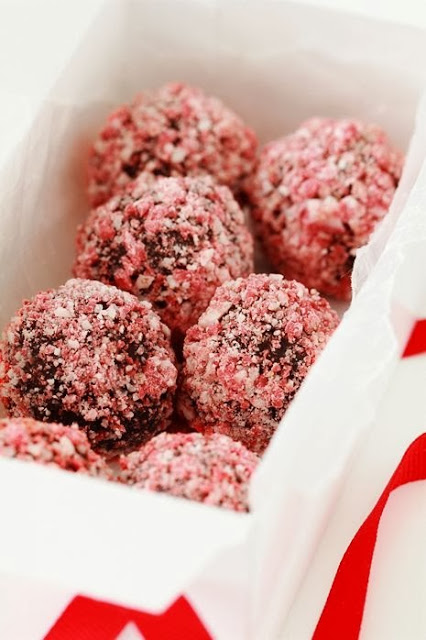
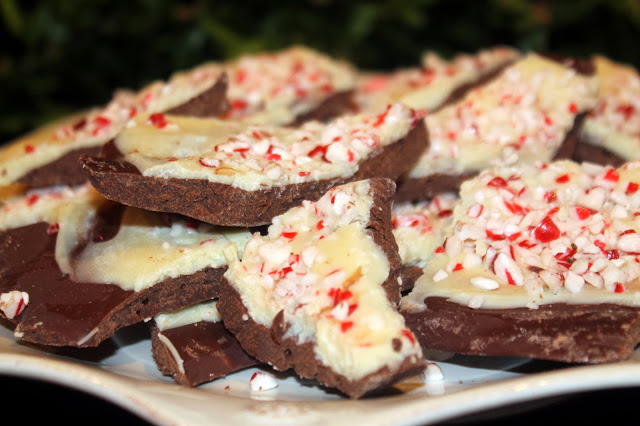
We like to crumble them and add them into cookie batter, brownie batter, cake batter and frosting. Melt some chocolate and take a simple butter or sugar cookie, roll it into the chocolate and then dip them into the peppermint pieces. In a rush? In a pinch? You can do this with simple store bought cookies too... But shhh, don't tell anyone, let 'em think you've slaved over them! Roll brownie bites and chocolate truffles in them... Dip marshmallows into chocolate and cover them in the pretty pink shimmery pieces... But our favorite, homemade chocolate bark. So delicious, so simple and a perfect holiday gift for family, hostess or teacher!
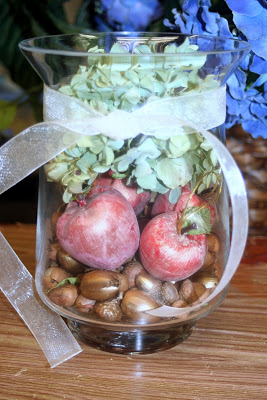
 |
| via Dreamy Whites |
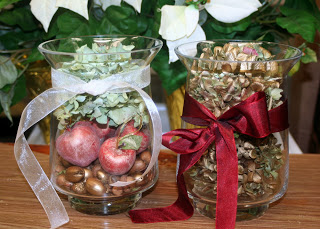
 |
| via Bakers Royale |
 |
| via A Spoonful of Sugar |
 |
| via Pinterest |
 |
| via The Entertaining House |
 |
| via The Entertaining House |
 |
| via The Entertaining House |
 |
| via The Entertaining House |
 |
| via The Entertaining House |
 |
| via The Entertaining House |
How to make Christmas Bark.
We actually made two different kinds of bark, Peppermint Bark and Peppermint Joe-Joe Bark. Joe-Joes are Trader Joe's version of the Oreo. And if you've never had the peppermint version you are really missing up on something special! The kids made this the other night and they had so much fun and found it to be so easy that they've decided that this is what they will be making for their teacher gifts this year.
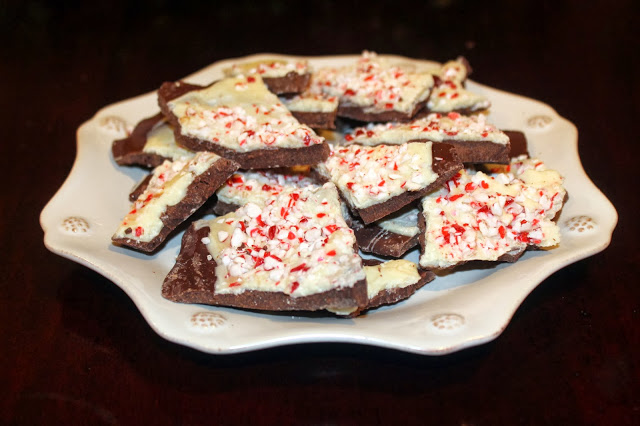
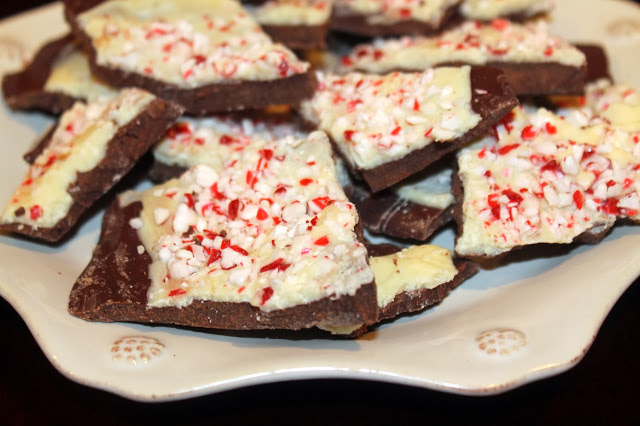
Peppermint Bark
Ingredients:
1 package good quality white chocolate chips. We prefer Trader Joe's or Ghirardelli over Nestle.
1 package good quality semi sweet chocolate chips.
1/8 - 1/4 cup crushed candy cane pieces (depending on how you like it)
Make a double boiler by placing a metal mixing bowl over a pan of boiling water. Once the water has started to boil, turn the heat down to the lowest setting possible. Slowly melt the chocolate and begin folding (gently mixing) the chips into one another as they start to melt. Once the chocolate chips have been fully melted pour them onto a baking sheet that has been lined with parchment paper. Place the baking sheet into the fridge or freezer to cool. While the chocolate is setting, wash the bowl out well and dry well. Make sure no water is left in in the bowl as white chocolate is harder to melt and faster to burn. Even a drop of water will prevent the chocolate from melting. When the bowl is absolutely dry replace it on top of the pan. Add the white chocolate and slowly, let it melt, folding it into itself as it does. Remove the pan from the fridge or freezer and pour the tempered white chocolate onto the cool semi sweet chocolate. While the white chocolate is still warm, add the peppermint pieces by gently and evenly sprinkling them to the top of the bark. As the chocolate hardens and sets the peppermint will adhere to the mixture. Return to fridge or freezer until both the dark and the white chocolate are solid. Bring it back to room temperature and then break into pieces... try not to pick at too much while you're at it!
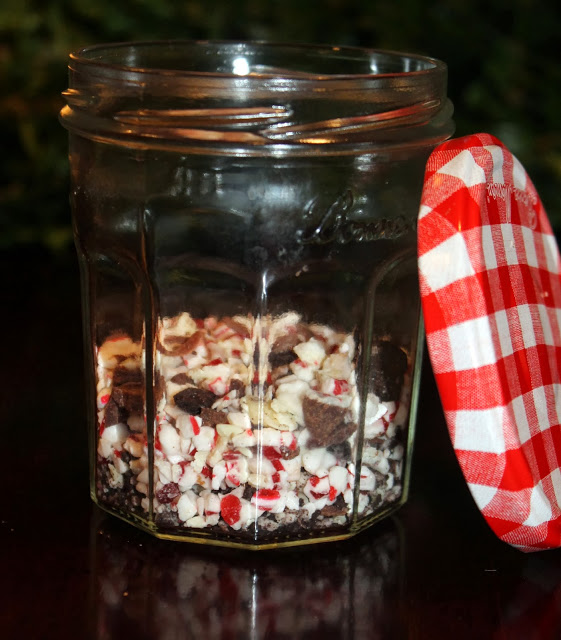
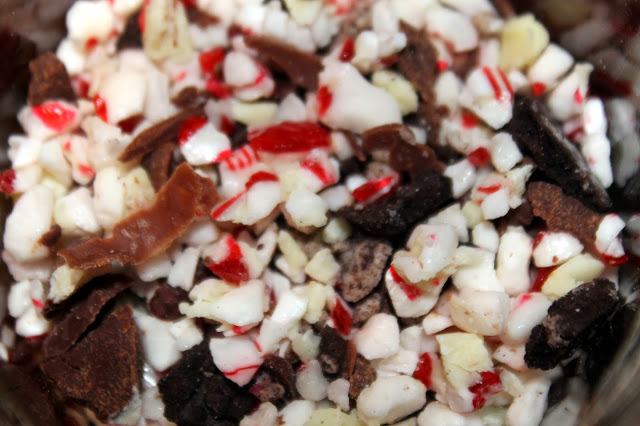
Save the little bits that fall off and place them in a jar. You can reuse them in baking or sprinkle them on top of vanilla ice cream!
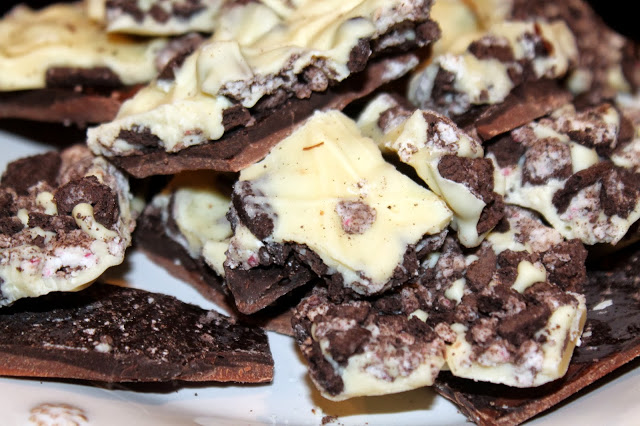
Peppermint Joe-Joe (or Oreo) Bark
Ingredients:
2/3 of a box of Joe-Joes
1 package good quality white chocolate
1 package good quality milk chocolate
1 package good quality semi-sweet chocolate
Directions. Follow same steps as above, only you will have the additional layer of the third type of chocolate. The cookie bits can either be added in between layers or to the top layer. Whichever layer you add them to, be sure to add them to the chocolate while it is still soft. When the bark is made, cool to firm then bring to room temperature and break into pieces! Add the bits that have fallen off to the jar with the peppermint bits!
Jessica


